|
|
5 years ago | |
|---|---|---|
| .. | ||
| items | 6 years ago | |
| pictures | 6 years ago | |
| sitemaps | 6 years ago | |
| things | 6 years ago | |
| transform | 6 years ago | |
| README.md | 6 years ago | |
README.md
OpenHAB-integration for ESPuino
Disclaimer
OpenHAB is a pretty complex software for home automation. I just extracted that parts of my local config, that are necessary for ESPuino. Hopefully I didn't forget anything :-) Said this I want to rule out I didn't test this minimal setup and that this document's aim isn't to provide a fully-featured howto. For further informations please have a look at the project's documentation or the community.
What's necessary (hardware)
- I always recommend Raspberry Pi as it consumes only a few watts.
- Make sure to at least use model 3b+. If you don't yet own a Raspi, go for Raspi 4b with at least 2 GB of RAM (maybe better 4 GB).
- Important is a good power supply. If in doubts use the official one. Better don't use one from an "old cellphone" as it's hard to know if it fits Raspi's needs.
- Raspberrys usually use µSD-card as main-storage. In general, this is fine and tiny-sized as well, but the problem is, that openHAB logs extensively. And unfortunately this is something, that µSD don't like so this probably leads to fast wear. So better use a SSD instead of µSD. Unfortunately, Raspi4b doesn't support to boot from SSD out-of-the-box. Please refer these instructions to know what's necessary to "persuade" Raspi4b to boot from an USB-drive. Trust me: it's really worth it to use a SSD-drive. Especially with a Raspi4b (that provides USB3) it's much much more faster than µSD.
- Good news for people using Raspi3b+: it supports booting from USB-drive out-of-the-box.
What's necessary (software)
- In order to make use of my config-files you need to have a running openHAB-installation. Mine is running on a Raspberry Pi 4b (4GB Ram) with openHAB3. In general there are two ways to install openHAB:
- Raspberry Pi OS with manual openHAB-installation
- openHABian. After testing it myself I also recommend to use openHABian as it's much simplier.
- Make sure to choose openHAB3 as openHAB2 will be discontinued mid-term.
- After completing the installation, UI should be browsable. In order to get ESPuino running you need at least the MQTT-binding (Add-ons -> Bindings) and the Map-transformation (Add-ons -> transformations). And you need to setup items, rules and sitemap.
- Beside of openHAB you need a MQTT-broker. You can use a public one but if there's already a Raspberry Pi running with openHAB, it probably makes sense to install Mosquitto as MQTT-broker in parallel.
GUI or text?
- When it comes to configuration, there are two possibilities: GUI or txt-Files.
- It seems to be sorta religion of which one to choose :-) However, as of openHAB3, GUI is simplier, but's a lot of stuff to click that would be probably faster to configure as text-file. Refer this one for further informations.
- Please note: my examples are txt-based and taken from openHAB2. With changing from openHAB2 to openHAB3, I moved over to configuration via GUI. Anyway: the sitemap still needs to be configured as txt-file.
MQTT
After your MQTT-broker is set up have look at mqttConnections.things in order to configure the MQTTT-connection between openHAB and the broker. In doubt restart openHAB as changes sometimes don't get recognized immediately without restart. If nothing happens have a look at the logfiles /var/log/openhab/openhab.log or /var/log/openhab/events.log. In general, to debug MQTT-stuff, MQTT fx is a good tool to refer.
How does it look like?
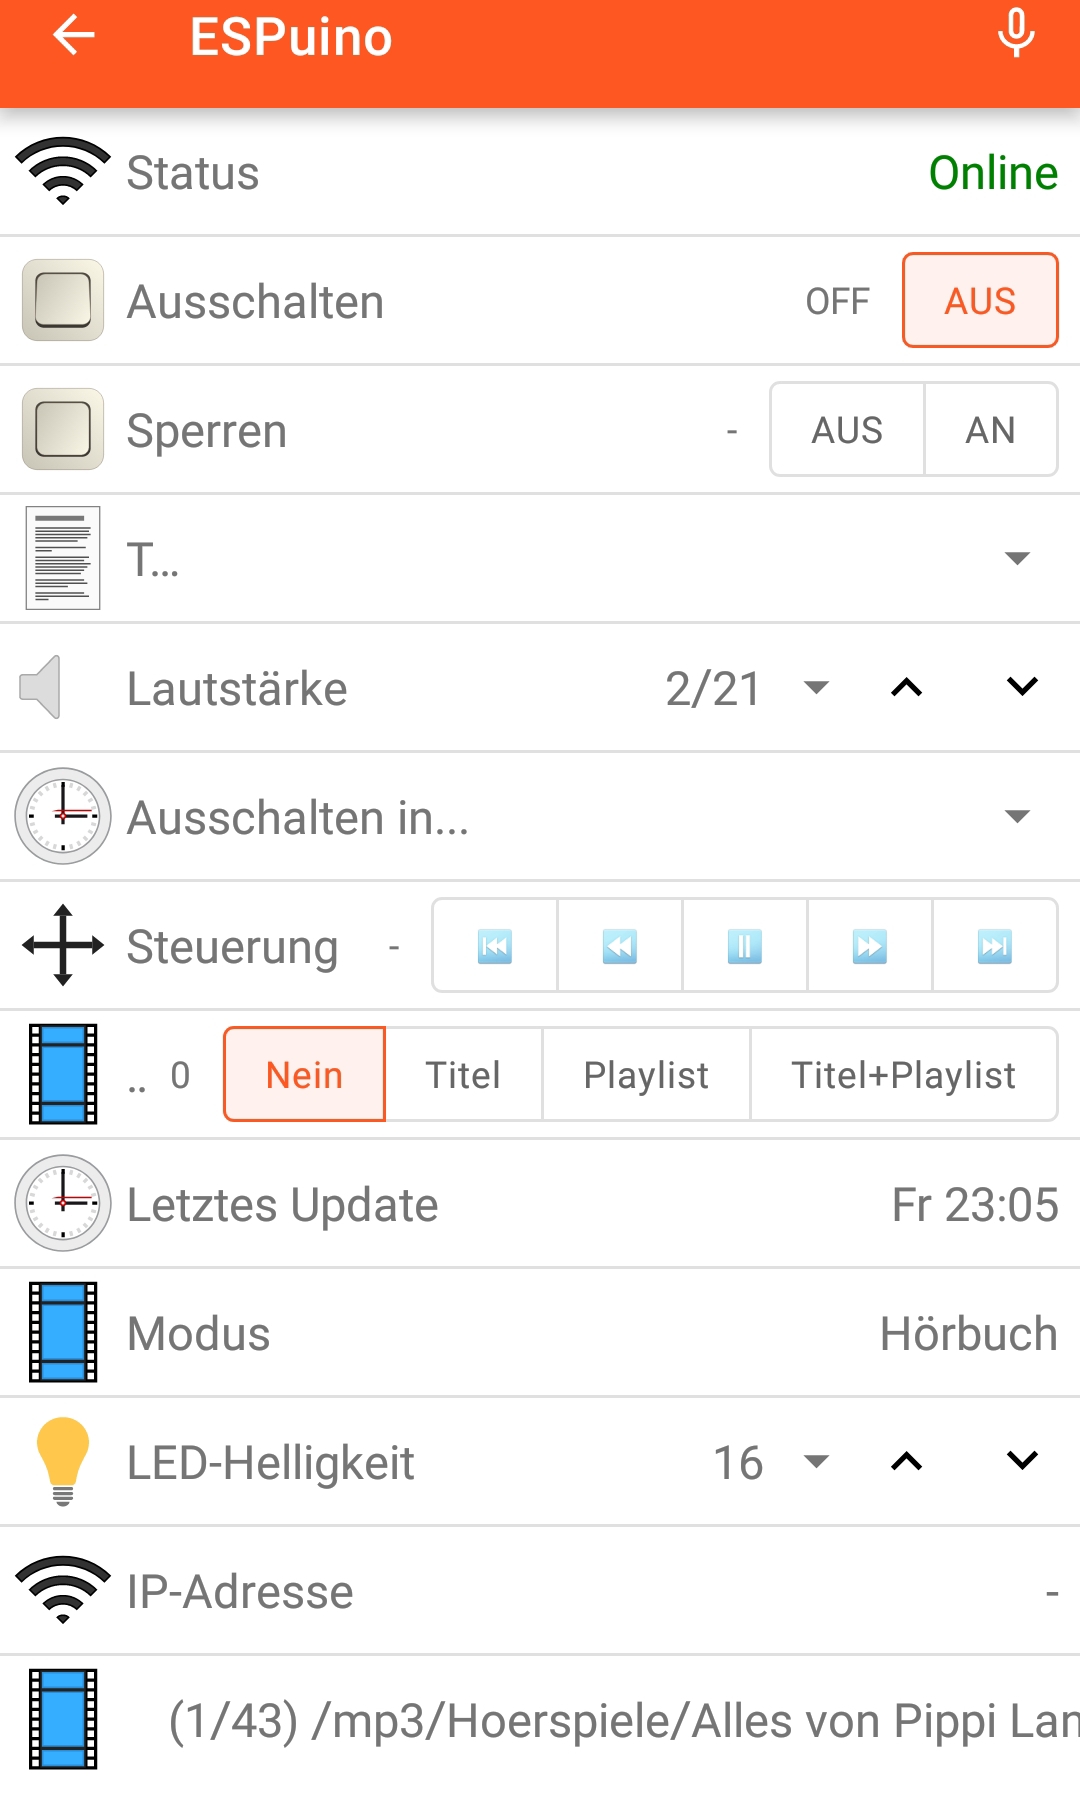
Depends on you like it :-) Here's some screenshots of my sitemap-presentation as described in my GitHub-repository.
App's screen when ESPuino is running and playing a music-folder:
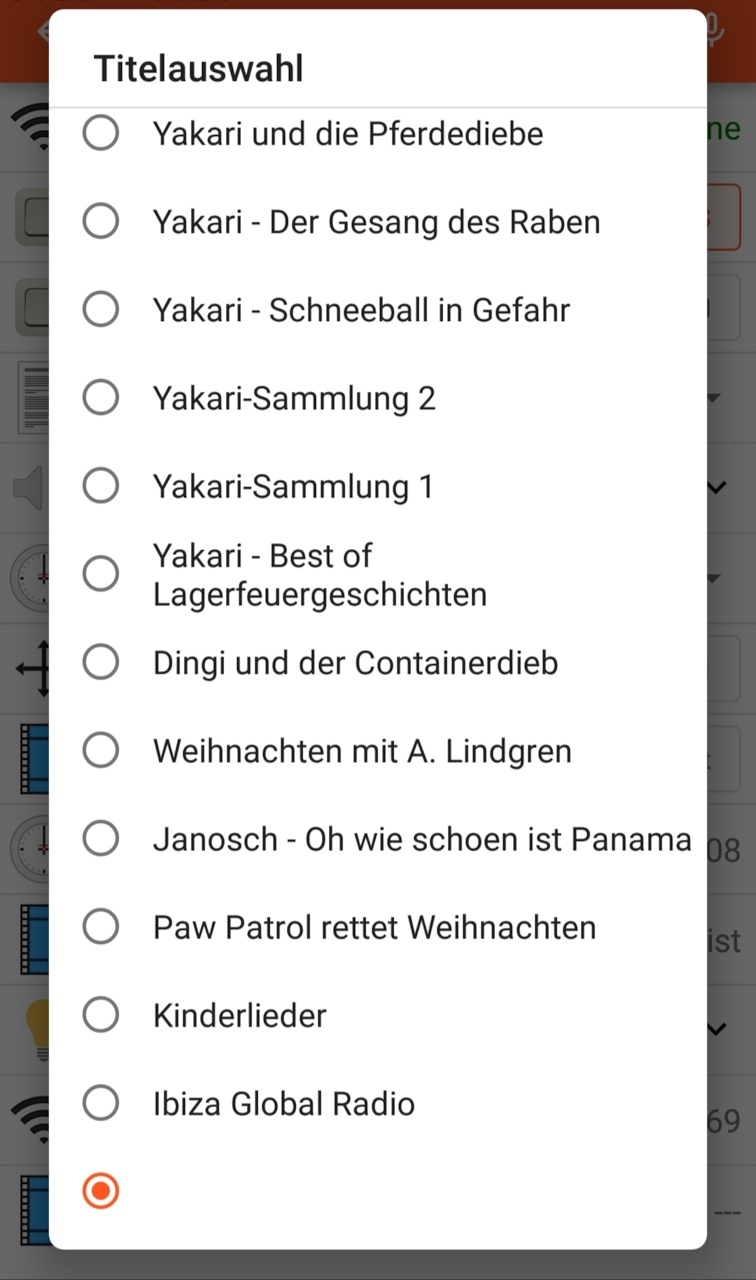
RFID-tags can also be 'emulated' via app. It's not really comfortable, as this list isn't synced with the RFIDs known to ESPuino, but at least it's possible (+handy for a few RFIDs):
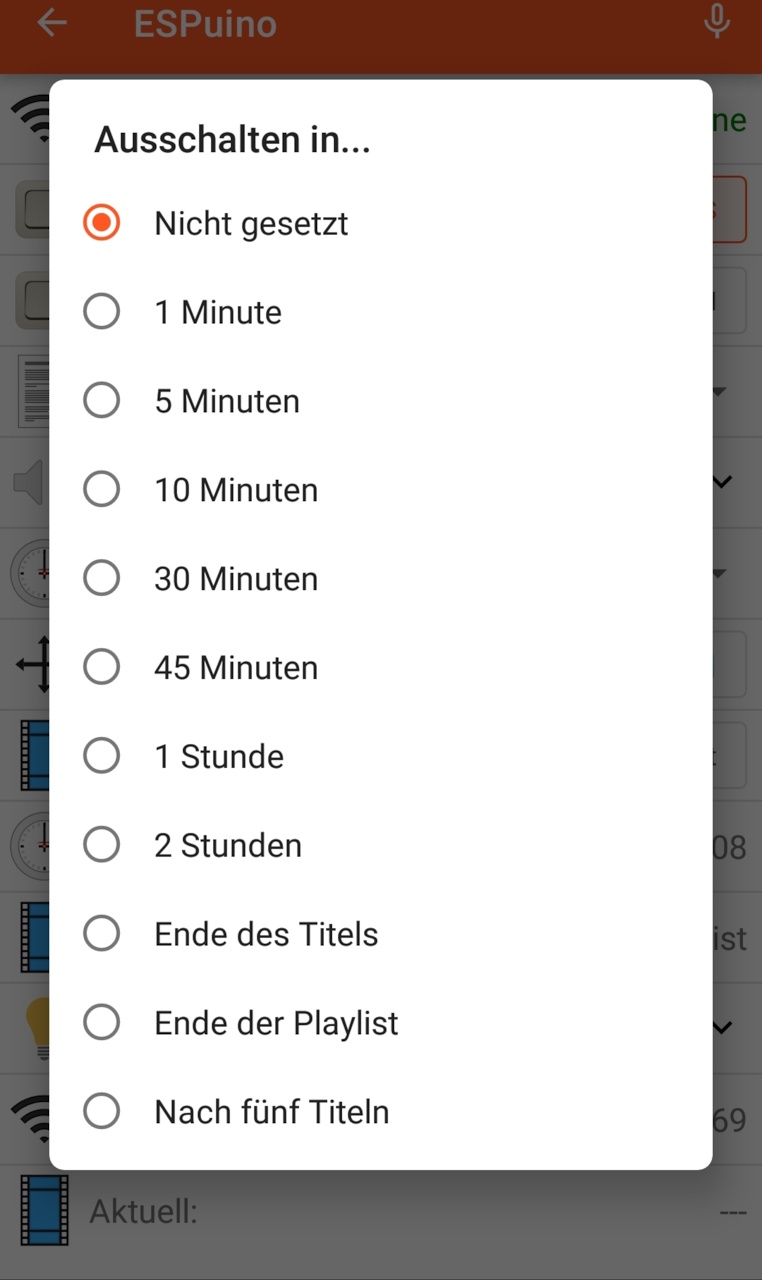
Sleep-timer can be adjusted this way:
When ESPuino is not online (doesn't matter if deepsleep or totally powered off):
